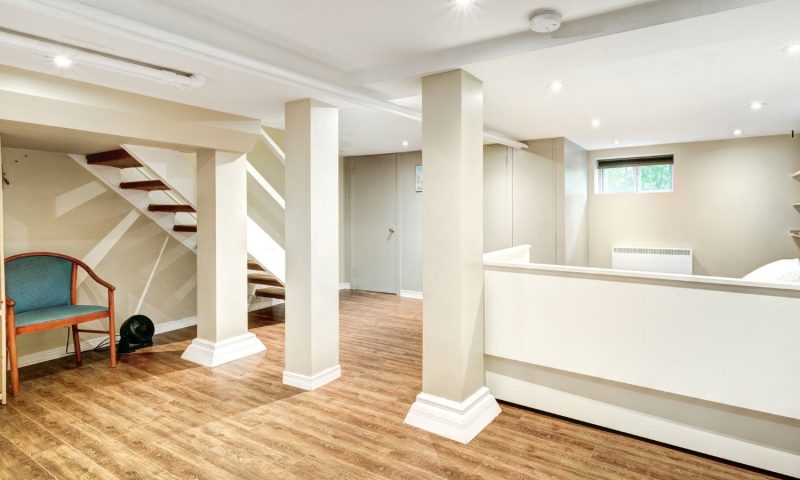
Performing a complete renovation of your unfinished basement is a great project for experienced DIYers looking to add value and style to their homes.
One of the major set pieces for the television series “That ‘70s Show” was an unfinished basement in the home of the series’ protagonist. Unlike the teenagers in the program, many people don’t want to spend their free time in a room with grey concrete floors complimented by the lovely grey concrete walls. But for those willing to put the time, effort, and money in, a finished basement can become your home’s own setpiece. Here are the 6 steps for finishing a basement.
Preparing for the Project
With any home renovation project, it’s important to start with a plan. Be realistic about the cost of the project; finishing a basement can get expensive. Be aware of any permits or other local requirements. Have any moisture leaks repaired and check for mold before starting. Finally, have a scaled blueprint to measure the dimensions.
Framing the Room
There are two methods for building frames that’ll make up your walls. If you have help with the project, you can build them on the ground before standing them up and putting them in place. If you’re doing the project yourself, you also have the option of building it in place as you go. Only order as much lumber as you will be using for the next few days to avoid warping of your wood.
Utilities in the Walls
Once the wooden frames are up, the next step is to install all the things that go into the walls. This includes electrical wiring, plumbing, HVAC, and lighting. This is also the time to put in the wall switches and outlets. Many finished basements also include a sound system built-in, so this is the time to include that, too. Finally, make sure as much skin as possible is covered while installing insulation.
Up Goes the Drywall
Installing drywall is, without a doubt, the worst part of finishing a basement. During this step, it can help to remember your reasons for wanting to finish the basement in the first place. Cut appropriate holes for wall plates, lighting, and other accessories before hoisting the piece into place. If working alone, make sure to use an aid for holding the piece in place, especially when doing the ceiling.
Painting and Doors
After the drywall is up, the next step is to paint and install the doors. You want to do this before the flooring to avoid staining it. Make sure to sand the drywall mud you used before painting so the walls will appear level.
Down Goes the Flooring
While drywalling is the worst of the steps for finishing a basement, flooring is a very close second. Begin with installing a subflooring on the concrete floor, and then add your desired flooring on top of that. Carpet floors make a basement much more inviting.
